To add your SSH key to the Crunchbits control panel, follow these simple steps:
First, when you initially get your VPS with Crunchbits or go to rebuild an existing VPS you will be met with the following screen:
On this screen you will click the red "Add Key" button.
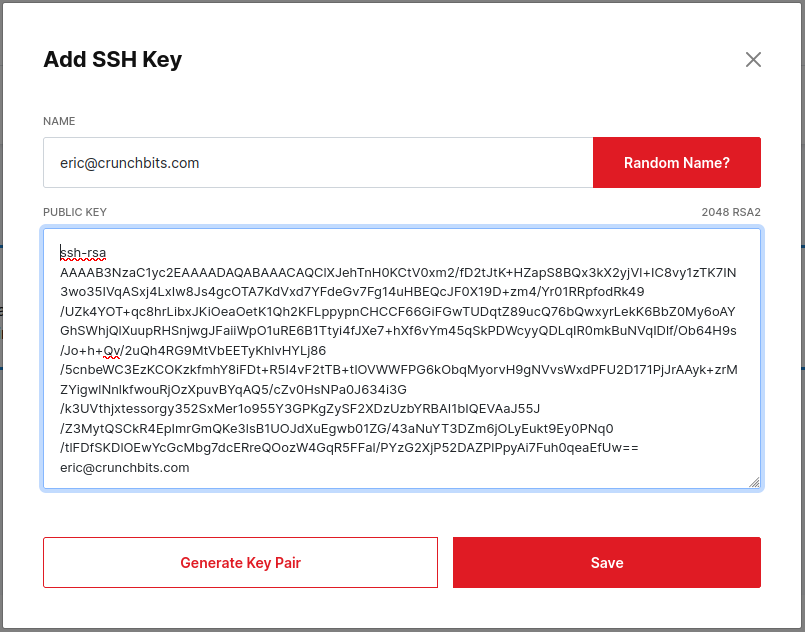
Next, you will be met with a small popup that looks like this:
You can give your key any name you want (this is just to help you recognize/remember it in our system) but you will copy the contents of your public key (pubkey, ~/.ssh/id_rsa.pub) into the box that says "Public Key".
If you haven't generated your public/private SSH key set yet, see these articles:
How to generate SSH key pair on Windows client or How to generate an SSH key pair on Linux (Ubuntu/Debian)
After you have successfully completed that, you will now see a screen that resembles the following:
You can now select and de-select your SSH key for every server you create and those keys will be automatically installed and authorized for any operating system template we have available. Go ahead and click the big red install button and in 30 seconds or less, start enjoying your new VPS!

